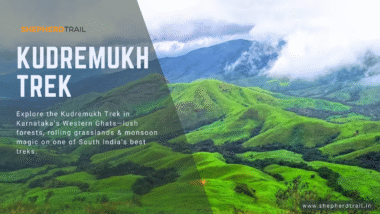
TTrek Information Read More 7 minute read Kudremukh Trek: A Walk Through the Western Ghats’ Emerald CrownbyDavinder Kumar31/07/2025No comments Kudremukh Trek: A Walk Through the Western Ghats’ Emerald Crown Where the trails echo with mist, hooves, and…
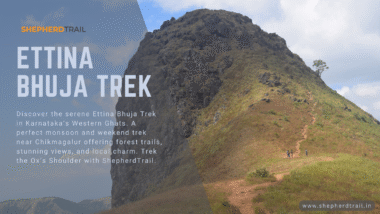
TTrek Information Read More 5 minute read Ettina Bhuja Trek – The Hidden Gem of Karnataka’s Western GhatsbyDavinder Kumar22/07/2025No comments Ettina Bhuja Trek – The Hidden Gem of Karnataka’s Western Ghats Where Every Trail Tells a Story The…
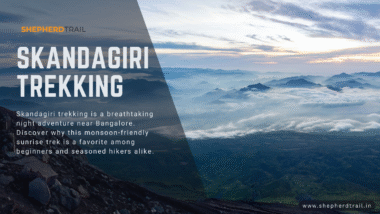
TTrek Information Read More 4 minute read Skandagiri Trekking: A Moonlit Climb to a Cloud-Kissed SunrisebyDavinder Kumar15/07/2025No comments 🌄 Skandagiri Trekking: A Moonlit Climb to a Cloud-Kissed Sunrise Not far from the tech-humming city of Bengaluru…
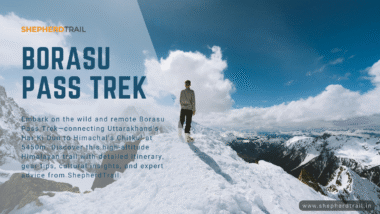
TTrek Information Read More 6 minute read Borasu Pass Trek – A Himalayan Epic from Har Ki Dun to KinnaurbyDavinder Kumar01/07/2025No comments 🌄️ Borasu Pass Trek – A Himalayan Epic from Har Ki Dun to Kinnaur By ShepherdTrail – Where…
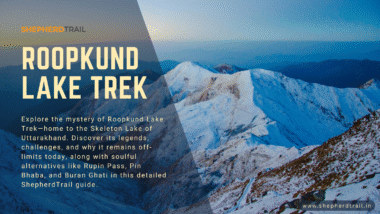
TTrek Information Read More 5 minute read Roopkund Lake Trek – The Mysterious Trail of Skeletons and Splendor | Updated 2025byDavinder Kumar30/06/2025No comments 🏔️ Roopkund Lake Trek – The Mysterious Trail of Skeletons and Splendor By ShepherdTrail – Where Every Trail…
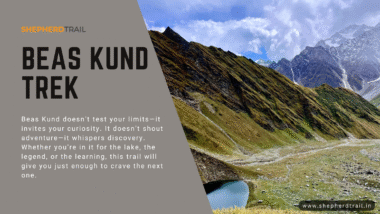
TTrek Information Read More 5 minute read Beas Kund Trek – Where the Beas is BornbyDavinder Kumar27/06/2025No comments 🥾 Beas Kund Trek – Where the Beas is Born By ShepherdTrail – Where Every Trail Tells a…
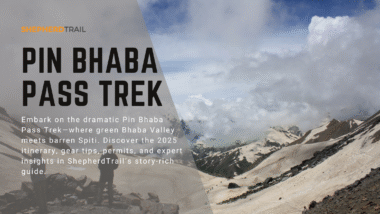
TTrek Information Read More 5 minute read Pin Bhaba Pass Trek – Where Lush Forests Meet Barren DreamsbyDavinder Kumar22/06/2025No comments Pin Bhaba Pass Trek – Where Lush Forests Meet Barren Dreams By ShepherdTrail – Where Every Trail Tells…
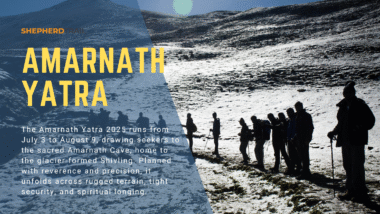
TTrek Information Read More 3 minute read Amarnath Yatra 2025: Pilgrimage of Ice, Spirit & EndurancebyDavinder Kumar21/06/2025No comments Amarnath Yatra 2025: Pilgrimage of Ice, Spirit & Endurance Where Every Trail Tells a Story – ShepherdTrail Every…
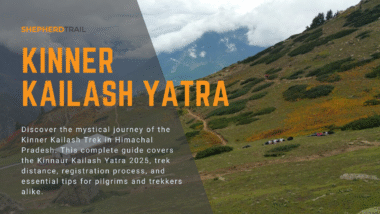
TTrek Information Read More 4 minute read Kinner Kailash Yatra 2025: A Sacred Trek to the Abode of ShivabyDavinder Kumar19/06/2025No comments Where the Gods Walk Among Mountains: Kinner Kailash Yatra Not all treks are about peaks. Some are about…
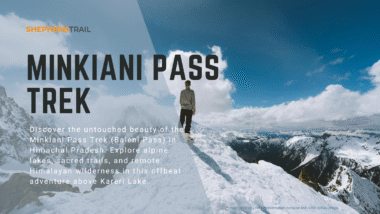
TTrek Information Read More 5 minute read Minkiani Pass Trek (Baleni Pass) – Where Peaks Remember Your NamebyDavinder Kumar17/06/2025No comments Minkiani Pass Trek (Baleni Pass) – Where Peaks Remember Your Name Where Every Trail Tells a Story –…
TTrek Information Read More 6 minute read Valley of Flowers Trek – A Himalayan Tapestry Woven in BloombyDavinder Kumar16/06/2025No comments Valley of Flowers Trek – A Himalayan Tapestry Woven in Bloom Where Every Trail Tells a Story –…
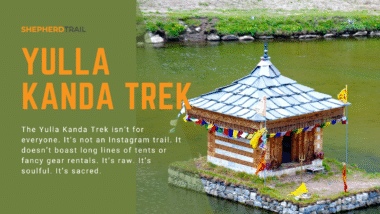
TTrek Information Read More 6 minute read Yulla Kanda Trek: Journey to the Highest Krishna Temple in the WorldbyDavinder Kumar14/06/2025No comments Yulla Kanda Trek – In Search of the Highest Krishna Temple in the Himalayas Where Every Trail Tells…
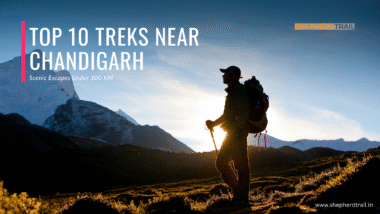
TTrek Information Read More 5 minute read Top 10 Treks Near Chandigarh: Scenic Escapes Under 100 KMbyDavinder Kumar12/06/2025No comments Top 10 Treks Near Chandigarh: Scenic Escapes Under 100 KM Where Every Trail Tells a Story – ShepherdTrail…
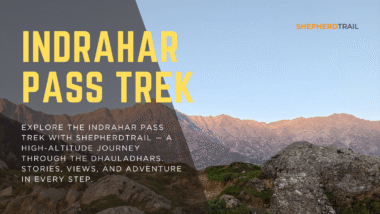
TTrek Information Read More 5 minute read 🏔️ Indrahar Pass Trek – Gateway to the Dhauladhar’s CrownbyDavinder Kumar11/06/2025No comments Indrahar Pass Trek – A Journey Through the Dhauladhar Heartland Where rugged ridges meet soulful skies — explore…
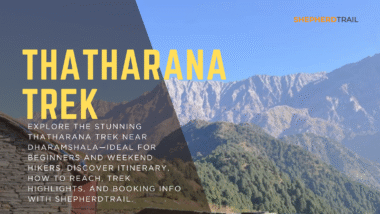
TTrek Information Read More 4 minute read Thatharana Trek – Dharamshala’s Hidden Ridge AdventurebyDavinder Kumar10/06/2025No comments 🌲 Thatharana Trek – Dharamshala’s Hidden Ridge Adventure By Davinder | ShepherdTrail – “Where Every Trail Tells a…
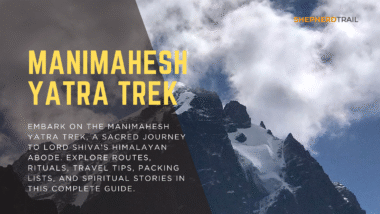
TTrek Information Read More 5 minute read 🌄 Manimahesh Yatra Trek – A Pilgrim’s Journey Through Himalayan DevotionbyDavinder Kumar09/06/2025No comments 🌄 Manimahesh Yatra Trek – A Pilgrim’s Journey Through Himalayan Devotion When Mountains and Devotion Become One The…
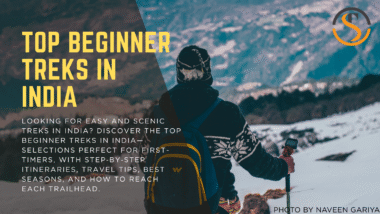
TTrek Information Read More 4 minute read Top Beginner Treks in India: Easy Trails with Big Rewards 🏞️byDavinder Kumar08/06/2025No comments Top Beginner Treks in India: Easy Trails with Big Rewards 🏞️ Why This List Matters for New Trekkers…
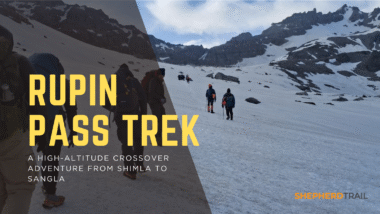
TTrek Information Read More 6 minute read Rupin Pass Trek – A High-Altitude Crossover Adventure from Shimla to SanglabyDavinder Kumar03/06/2025No comments Where Every Trail Tells a Story: Rupin Pass Trek If there’s one trek that embodies the raw, untamed…
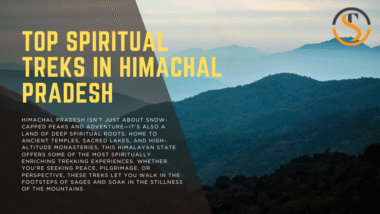
TTrek Information Read More 5 minute read Top Spiritual Treks for 2025 in Himachal Pradesh – A Soulful Journey in the HimalayasbyDavinder Kumar22/05/2025No comments Top Spiritual Treks for 2025 in Himachal Pradesh – A Soulful Journey in the Himalayas Himachal Pradesh isn’t…
TTrek Information Read More 7 minute read Kedarkantha Trek: A Snowy Adventure You’ll Never ForgetbyDavinder Kumar20/05/2025No comments ❄️ Why the Kedarkantha Trek Deserves a Spot on Your Bucket List If you’ve ever dreamed of walking…
TTrek Information Read More 8 minute read Buran Ghati Trek: Your Next Unforgettable Himalayan Adventure | A detailed guide by ShepherdbyDavinder Kumar18/05/2025No comments Buran Ghati Trek: Your Next Unforgettable Himalayan Adventure | A detailed guide by Shepherd Trail If there’s one…
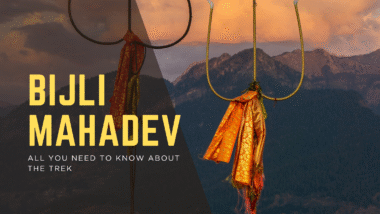
TTrek Information Read More 3 minute read Bijli Mahadev Temple Trek: A Spiritual Adventure in the Heart of HimachalbyDavinder Kumar19/04/2025No comments Bijli Mahadev Temple Trek: A Spiritual Adventure in the Heart of Himachal Tucked amidst the majestic mountains of…
TTrek Information Read More 3 minute read All you need to know about Shali Tibba Trek | Trek Guide 2023byDavinder Kumar25/12/2024No comments Shali Tibba Trek Hi there! Grab a cup of tea and let’s talk about an unforgettable adventure –…
TTrek Information Read More 3 minute read All you need to know about Chandernahan Lake Trek – Updated 2023byDavinder Kumar16/06/2023 Chandernahan Lake Trekking – Shimla, Himachal Pradesh Chandernahan Lake Trek is on the south-eastern slopes of the Himalayas.…
TTrek Information Read More 3 minute read All you need to know about Jalsu pass trek | Updates 2025byDavinder Kumar10/01/2023No comments When it comes to Jalsu Pass Trek, it is one of my favorite mountain trail. You find everything…
TTrek Information Read More 2 minute read Benefits of Trekking | Written using ChatGPT | How would you rate it?byDavinder Kumar28/12/2022One comment Trekking is an outdoor activity that involves walking or hiking through natural areas, often in the mountains or…
TTrek Experience Read More 5 minute read All you need to know about Kinner Kailash TrekbyPankaj Sharma28/07/2022One comment All you need to know about Kinner Kailash Trek Kinner Kailash trek distance- Approx 70km Elevation Gain –…
TTrek Information Read More 3 minute read All you need to know about Shiv Dhank Trek | Day hike near Chandigarh in SolanbyDavinder Kumar20/07/2022No comments If you are around Chandigarh and looking for a quick day hike then Shiv Dhank Trek is one…
TTrek Information A quick guide to the Pin Parbat TrekbyDavinder Kumar05/07/2022No comments A quick guide to the Pin Parbat Trek Pin Parbat trek distance- Approx 175 km. Elevation Gain –…
TTrek Experience Read More 6 minute read Karol Tibba | Pandava Caves | Best Weekend Trek Near Chandigarh | Complete Guide 2023byDavinder Kumar10/06/20222 comments Karol Tibba | Pandava Caves | Most Untouched and underrated trail in Solan near Chandigarh | Complete Guide